I'm still pregnant. Just in case you're wondering. But I have a c-section scheduled about 4 weeks away... so I am counting down.
Tot's birthday is also coming up, pretty close to the due date and I'm afraid that I'll end up going into labor and ruining her birthday party... so we're doing it a couple weeks early.
Here in our house we are pretty big UT Vols fans. And Tot has asked for a UT birthday. She has this little Smokey dog (their mascot) that she loves and wants a "Smokey" birthday. So that's what we're doing. The girls get to be cheerleaders and the boys... football players.
To save some money, I am making Pom Poms for the party. I saw this video online.
It's a great tutorial on how to make Pom poms, but I needed orange and white, (For the vols of course.) and finding orange trash bags might be a bit difficult. So I decided to use those cheap $1 tablecloths you can get at the dollar store, or even walmart. And they have nearly every color you could use.
Anyways, here's how I made my pom poms!
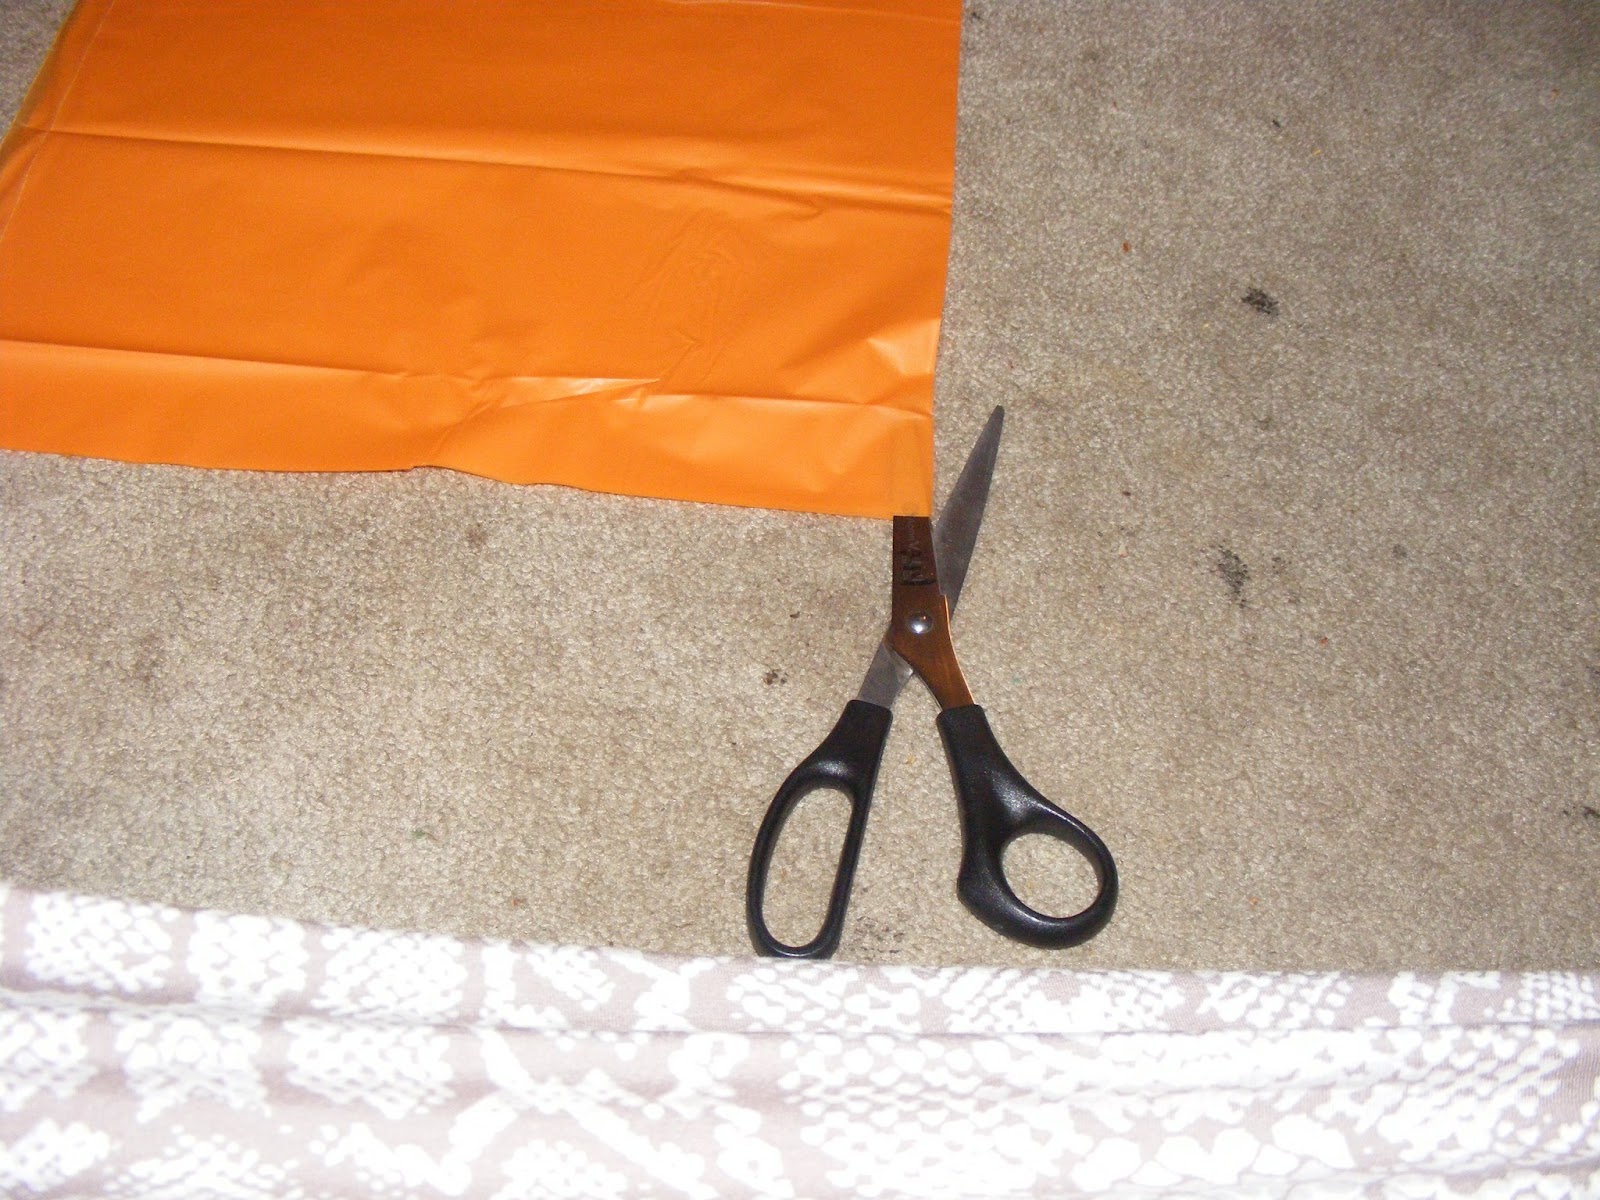
First, I rolled out the tablecloth, but did not unfold it. It was folded into 4ths, so I just left it like that.
Then I cut all the way down each side. On this side, I cut through two layers of the table cloth.
This side had the edges, so I only had to cut through one fold of the table cloth.
After that, I folded one corner down to form a triangle
Then I cut, so I'd have a square.
After I did that to the entire table cloth, I also did the same thing to a white one as well. Then, I started layering the colors. I did two squares of each color, layered on top of each other. Each table cloth forms one full pom pom, so you should be able to get two pom poms out of the two different colored table cloths. So make two piles.
After you have your pile of squares, put your fist down into the center of the square and make two lines on either side of your fist. Then you will cut about 1 inch strips on either side of those lines, making fringe for the pom poms.
Here's a picture of one side.
after you have the fringe all cut on both sides, gather square together with the fringe on either side of your fist.
Then start taping tightly around the uncut part of the squares. This is gonna be your handle.
All done taping!
After you have the handle made, set the pom pom between your legs with one fringed edge facing up. Then pull apart all the strips you cut, alternating directions and fanning them out to make the pom pom.
Be careful not to pull too much, because you will stretch out the plastic. Do this to both sides of your pom pom. And here is the final product.
The video I followed said you can trim them afterwards to make them more uniform, but since mine are just for a little girls birthday party, I'm not too worried about it being all uniformed. But I think they turned out super cute.
I'm going to make these as favors for the rest of the girls as well, but their's will not be quite as big and thick. That would end up being $2 for each girl who comes, and with the new baby on the way... I just can't quite do that right now. But I'm excited to get them done and see all the little girls dancing around with them! I may even have to whip out some of my old moves at the party. Maybe it'll help wiggle this baby out a bit.


No comments:
Post a Comment